


wordpress搭建
WordPress是使用PHP语言开发的博客平台,用户可以在支持PHP和MySQL数据库的服务器上架设属于自己的网站。
如上所示,wordpress的运行需要用到 PHP、MySQL、Nginx(Apache)、Linux作为基础环境,即LNMP(LAMP),本教程将介绍在 Centos7 上如何搭建 LNMP 环境并安装 wordpress。
LNMP
用脚本一键搭建LNMP
或者自行配置环境
Nginx
安装
运行以下命令安装Nginx:
yum -y install nginx
运行以下命令查看Nginx版本:
nginx -v
返回结果如下所示,表示Nginx安装成功。
nginx version: nginx/1.16.1
配置
备份一下配置:
cp /etc/nginx/nginx.conf /etc/nginx/nginx.conf.bak
打开配置文件:
vim /etc/nginx/nginx.conf
在配置文件中的 server 大括号内,添加配置信息,以便使 PHP 得以运行。
  #除下面提及的需要添加的配置信息外,其他配置保持默认值即可。
        location / {
            index index.php index.html index.htm;
        }
        #添加下列信息,配置Nginx通过fastcgi方式处理您的PHP请求
        location ~ .php$ {
            root /usr/share/nginx/html;
            fastcgi_pass 127.0.0.1:9000;
            fastcgi_index index.php;
            fastcgi_param  SCRIPT_FILENAME  $document_root$fastcgi_script_name;
            include fastcgi_params;
        }
如下图所示

使用 nginx 语法测试器测试配置文件是否合法:
nginx -t
启动 nginx:
systemctl start nginx
设置开机自启动:
systemctl enable nginx
Mysql
安装
Mysql有两个分支,一个是 Oracle 官方分支,现已闭源;一个是社区分支,更名为 mariadb,开源。
可以根据自己需要选取相应的sql,这里给出mariadb10.3的安装方法。
给 yum 添加源:
vim /etc/yum.repos.d/mariadb.repo
[mariadb]
name = MariaDB
baseurl = http://yum.mariadb.org/10.3/centos7-amd64
gpgkey=https://yum.mariadb.org/RPM-GPG-KEY-MariaDB
gpgcheck=1
更新缓存:
yum makecache
安装mariadb,这个默认是10.3版本:
yum install -y mariadb mariadb-server
配置
启动 mariadb 并且 设置开机自启动:
systemctl start mariadb
systemctl enable mariadb
稍后我们将使用 wordpress 与 mariadb 进行连接,所以先创建相应的数据库和用户:
mysql
如果已经设置数据库 root 密码,那么就使用:
mysql -p
接下来创建数据库:
CREATE DATABASE wordpress;
创建用户 'wordpress', 密码为 '123456':
CREATE USER 'wordpress'@'localhost' IDENTIFIED BY '123456';
赋予所有 wordpress 数据库的权限给用户:
GRANT ALL PRIVILEGES ON wordpress.* TO 'wordpress'@'localhost' IDENTIFIED BY '123456';
root 密码事关数据库的安全,建议设置:
ALTER USER root@localhost IDENTIFIED VIA mysql_native_password USING PASSWORD('输入您的密码');
刷新配置,使其生效:
FLUSH PRIVILEGES;
退出:
\q
PHP
安装
更新YUM源。
运行以下命令添加epel源。
yum install \ https://repo.ius.io/ius-release-el7.rpm \ https://dl.fedoraproject.org/pub/epel/epel-release-latest-7.noarch.rpm
运行以下命令添加Webtatic源。
rpm -Uvh https://mirror.webtatic.com/yum/el7/webtatic-release.rpm
运行以下命令安装PHP。
yum -y install php70w-devel php70w.x86_64 php70w-cli.x86_64 php70w-common.x86_64 php70w-gd.x86_64 php70w-ldap.x86_64 php70w-mbstring.x86_64 php70w-mcrypt.x86_64 php70w-pdo.x86_64 php70w-mysqlnd php70w-fpm php70w-opcache php70w-pecl-redis php70w-pecl-mongodb
运行以下命令查看PHP版本。
php -v
返回结果如下所示,表示安装成功。
PHP 7.0.33 (cli) (built: Dec 6 2018 22:30:44) ( NTS )
启动 php 并设置 php 的开机自启动
systemctl start php-fpm
systemctl enable php-fpm
配置
php 的默认用户为 'apache',而 nginx 的默认用户是 'nginx',为了保持权限的一致性,最好将 php 的用户及用户组更改为 nginx,以免后面发生主题或者插件无法更新的问题。
打开php-fpm配置文件:
/etc/php-fpm.d/www.conf
找到 user 以及 group,修改为 nginx:
; Unix user/group of processes
; Note: The user is mandatory. If the group is not set, the default user's group
; will be used.
; RPM: apache Choosed to be able to access some dir as httpd
user = nginx
; RPM: Keep a group allowed to write in log dir.
group = nginx
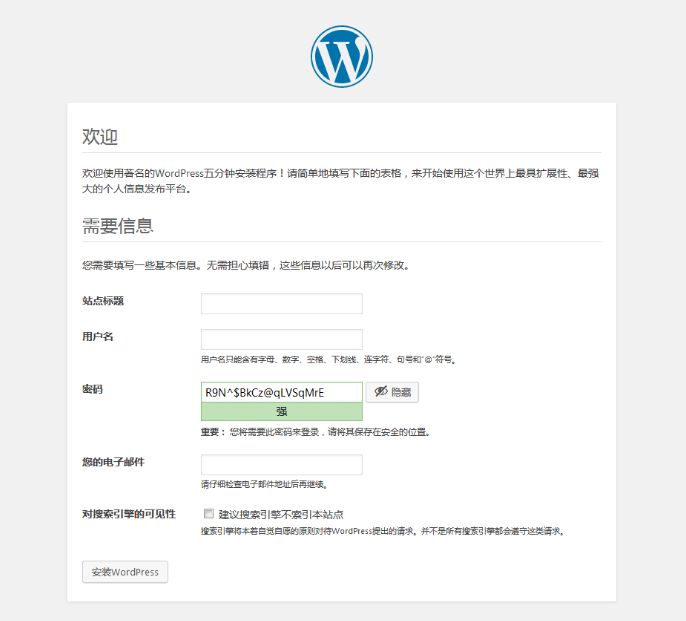
WordPress
关闭 SELinux
这是 centos7 特有的一个功能,能够阻止用户对未授权的文件进行访问(独立于文件系统的权限控制),我就被这个功能卡了很久,一直无法升级主题和插件,后来关闭这个功能之后一切正常。
输入命令:
getenforce
如果系统返回:Enabled,便关闭它:
vim /etc/selinux/config
将SELINUX=enforcing改为SELINUX=disabled
设置后需要重启才能生效
安装
下载并解压 wordpress 安装包,若需安装其他版本,可以浏览官方网站:https://wordpress.org/download/releases/
cd /usr/share/nginx/
wget https://wordpress.org/wordpress-5.4.2.tar.gz
tar xvf wordpress-5.4.2.tar.gz
cp -r ./wordpress/* ./html
配置
进入 nginx 默认网站目录
cd html
复制配置模板
cp wp-config-sample.php wp-config.php
打开配置文件
vim wp-config.php
修改 wordpress 的数据库配置为刚刚你所添加到 mariadb 中的配置
 // ** MySQL settings - You can get this info from your web host ** //
 /** The name of the database for WordPress */
 define('DB_NAME', '数据库名称');

 /** MySQL database username */
 define('DB_USER', '用户名称');

 /** MySQL database password */
 define('DB_PASSWORD', '密码');

 /** MySQL hostname */
 define('DB_HOST', 'localhost');
同时,加上一句话,将wp的访问文件的方式设置为直接访问(否则需要配置FTP访问)
define('FS_METHOD', "direct");
保存并退出,最后一步,修改html文件夹权限:
cd ..
chown -R nginx:nginx ./html
将文件夹的权限赋予 nginx 用户,否则 wordpress 无法运行。
至此,wordpress基本配置结束,进入自己的网站就可以开始相应的个性化配置了
配置伪静态规则
https://www.wpdaxue.com/wordpress-rewriterule.html
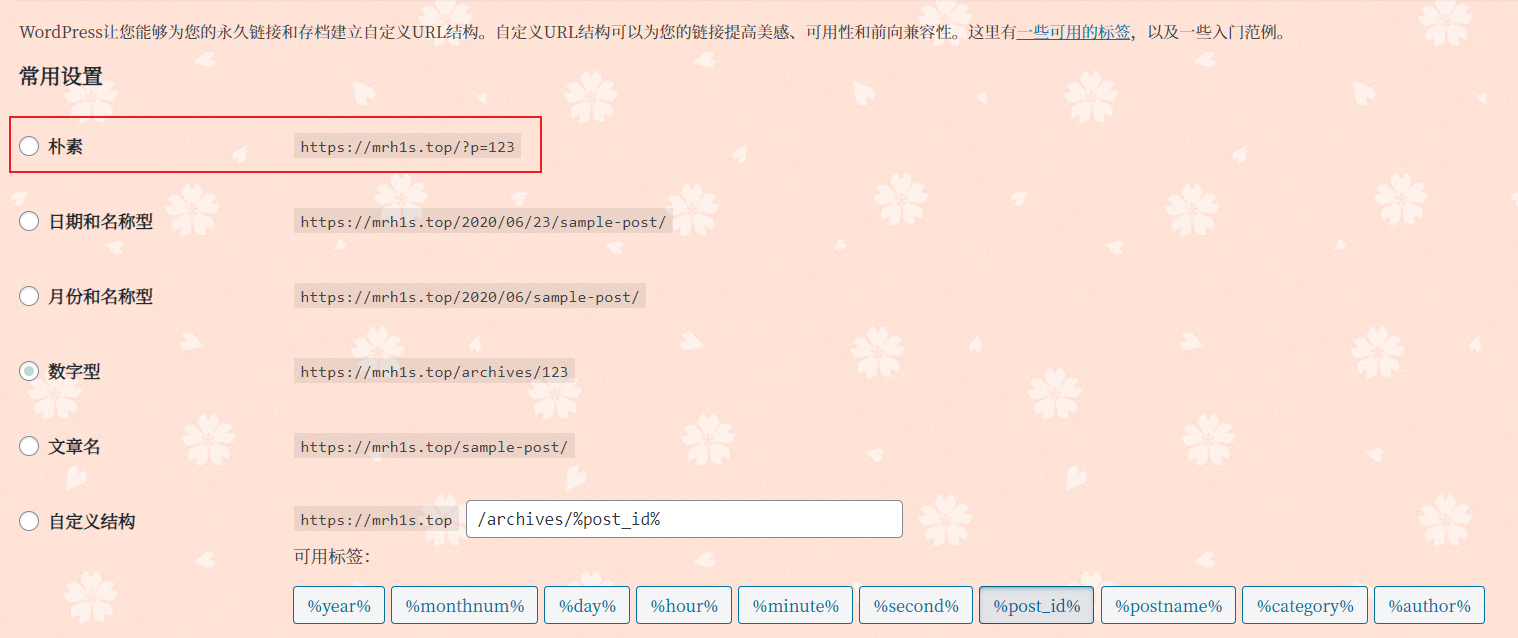
如果你有将 wordpress 的固定链接设置为朴素以外的需求的话,就需要配置伪静态了。
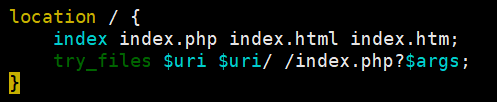
在server配置项下加入这两句话
location / {
    try_files $uri $uri/ /index.php?$args;
}

# Add trailing slash to */wp-admin requests.
rewrite /wp-admin$ $scheme://$host$uri/ permanent;
当然,try_files 可以跟 index 写在一起
配置HTTPS
申请证书
首先根据网页中的教程利用 cloudflare DNS 验证来申请一个SSL证书,并且记录下存放证书的位置:
https://cloud.tencent.com/developer/article/1360712
比如我的SSL证书:fullchain.pem是公钥,privkey.pem是私钥

配置nginx
443端口
接下来编辑nginx配置文件
vim /etc/nginx/nginx.conf
修改配置文件,添加如下语句,要添加的部分只有 ssl开头的这几条语句
此外将监听端口改为 443 ,域名修改为申请证书的域名
server {
        listen 443 ssl;  # 1.1版本后这样写
        server_name www.domain.com; #填写绑定证书的域名
        ssl_certificate 1_www.domain.com_bundle.crt;  # 指定证书的位置,绝对路径
        ssl_certificate_key 2_www.domain.com.key;  # 绝对路径,同上
        ssl_session_timeout 5m;
        ssl_protocols TLSv1 TLSv1.1 TLSv1.2; #按照这个协议配置
        ssl_ciphers ECDHE-RSA-AES128-GCM-SHA256:HIGH:!aNULL:!MD5:!RC4:!DHE;#按照这个套件配置
        ssl_prefer_server_ciphers on;
    }
80端口
需要写一个重定向规则将80端口的请求转移到443端口上
server {
        listen 80;
        server_name mrh1s.top;
        return 301 https://$server_name$request_uri;
    }
nginx.conf
我修改后的配置:
server {
        listen 80;
        server_name mrh1s.top;
        return 301 https://$server_name$request_uri;
    }

server {
        listen 443 ssl;
        server_name mrh1s.top;

        fastcgi_buffers  16 16k;
        fastcgi_buffer_size  32k;

        location / {
            index index.php index.html index.htm;
            try_files $uri $uri/ /index.php?$args;
        }

        location ~ .php$ {
            root /usr/share/nginx/html;
            fastcgi_pass 127.0.0.1:9000;
            fastcgi_index index.php;
            fastcgi_param  SCRIPT_FILENAME  $document_root$fastcgi_script_name;
            include fastcgi_params;
        }

        # Add trailing slash to */wp-admin requests.
        rewrite /wp-admin$ $scheme://$host$uri/ permanent;

        ssl_certificate /etc/letsencrypt/live/mrh1s.top/fullchain.pem;
        ssl_certificate_key /etc/letsencrypt/live/mrh1s.top/privkey.pem;
        ssl_session_timeout 5m;
        ssl_protocols TLSv1 TLSv1.1 TLSv1.2;
        ssl_ciphers ECDHE-RSA-AES128-GCM-SHA256:HIGH:!aNULL:!MD5:!RC4:!DHE;
        ssl_prefer_server_ciphers on;

        root         /usr/share/nginx/html;

        # Load configuration files for the default server block.
        include /etc/nginx/default.d/*.conf;

        error_page 404 /404.html;
            location = /40x.html {
        }

        error_page 500 502 503 504 /50x.html;
            location = /50x.html {
        }
    }
重启 nginx 即可
bbr
此外可以安装 bbr,加快网站的访问速度
https://laod.cn/black-technology/centos7-google-bbr-vps.html
参考资料
https://help.aliyun.com/document_detail/97251.html
https://cloud.tencent.com/document/product/213/8044
https://www.cnblogs.com/ysuwangqiang/p/11766470.html
https://www.wpdaxue.com/wordpress-rewriterule.html
https://www.cnblogs.com/activiti/p/7552677.html
https://www.zhihu.com/question/28910605
https://www.cnblogs.com/chnmig/p/10343890.html

Comments | NOTHING